We make a lot of software here at Stardock, and while all of it is wonderful and useful in their own ways, there are just a couple of programs that I consider my “ride or dies” for my PC experience. Fences is absolutely at the top of that list (followed very closely by Groupy).
The basic functionality of organizing my icons, folders, and programs into fenced in areas on my PC desktop is great enough on its own, but the more I explored Fences I began to realize that there was quite a lot more that I could do with it, especially aesthetically. With all of the customization options available in the program, you really can make your desktop look exactly how you like it.
Let’s take a look at some of the cool stuff you can do!
Color Customization
This one is fairly straightforward, but is probably one of my most favorite options: colors. I can adjust the color of my Fences (both as a group or individually!) to complement the background that I’m using on my Desktop.

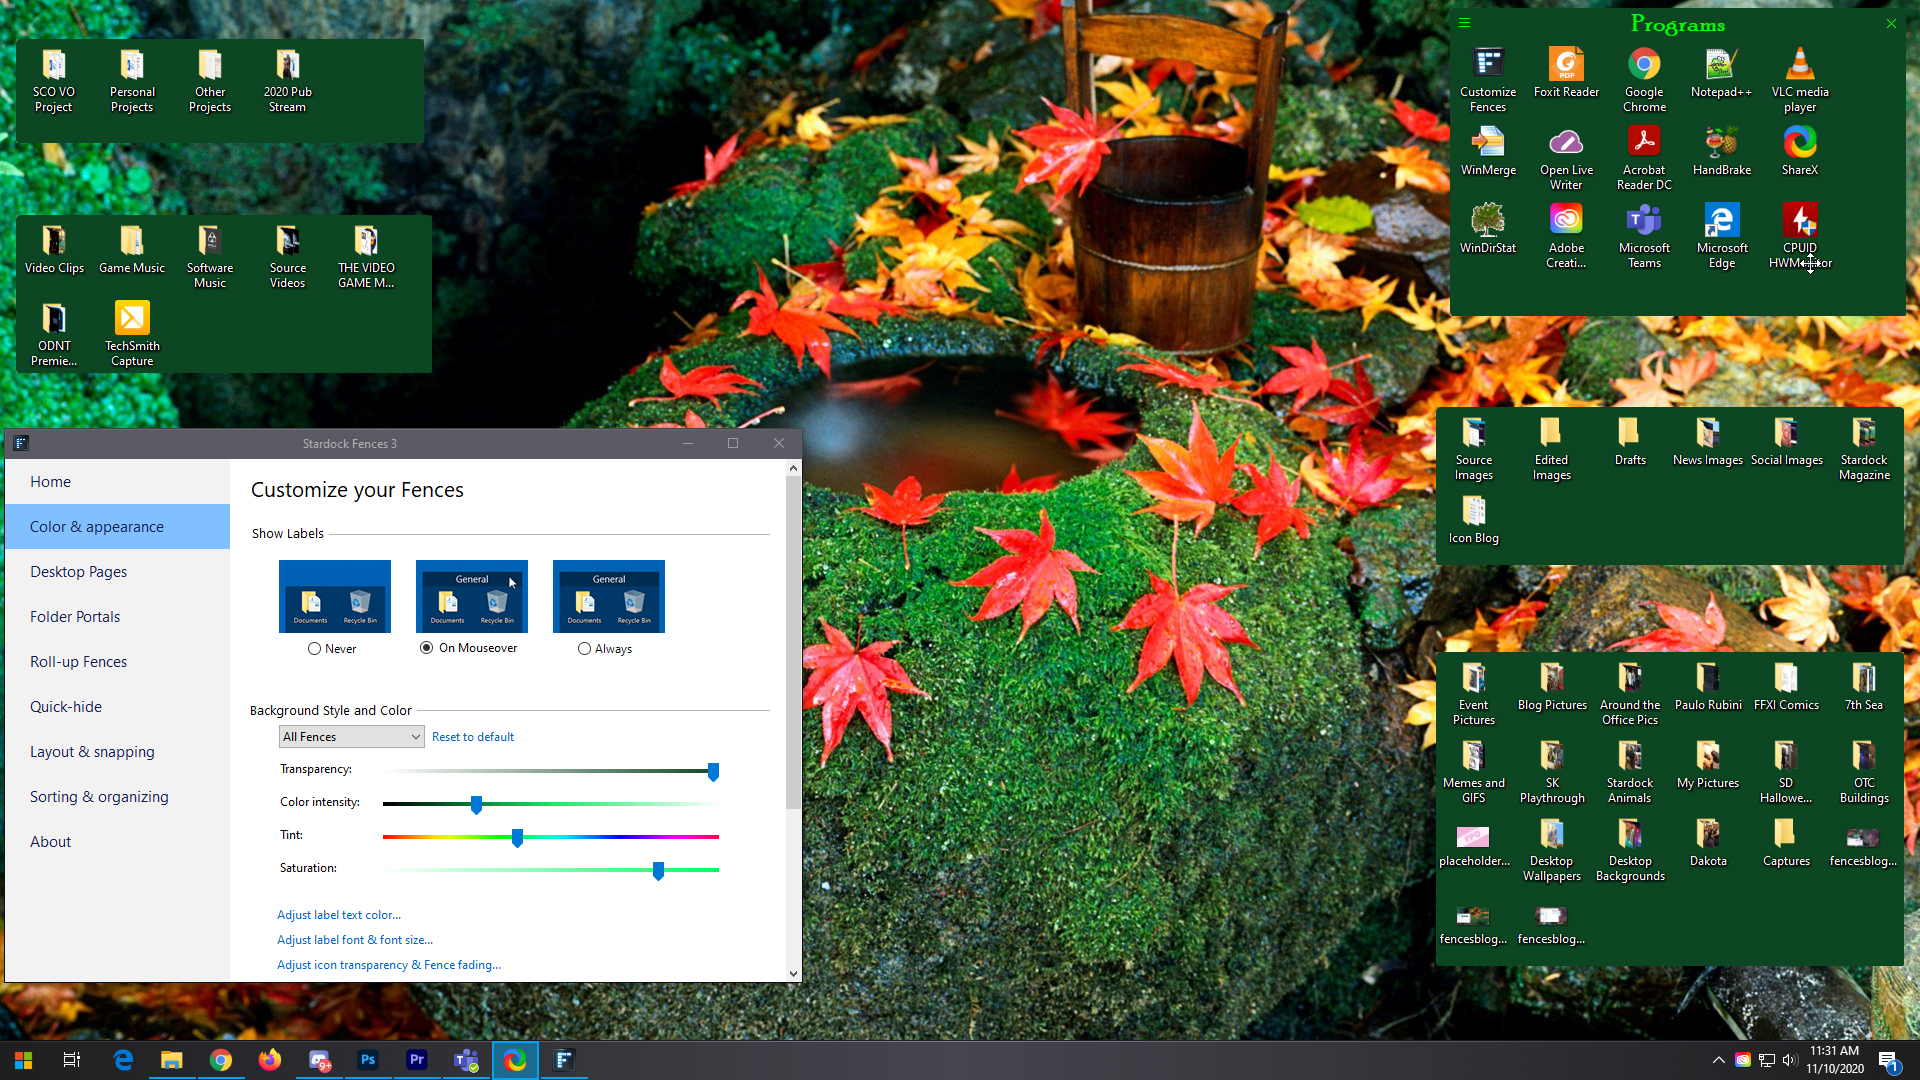
There are a lot of options available here. You can adjust the transparency, color intensity, tint, and saturation of your fences using the sliding scale, choosing to either apply the options uniformly across all of your fences, or individually to a select few. You can color code your fenced areas if that’s something that helps for organization - or if you just want a myriad rainbow of color on your desktop, that’s valid too!
You can achieve drastically different effects by choosing varying levels of saturation and transparency. Below, I have an image that shows a more solid fence without the transparent effect, plus you can also see that I have an option enabled that hides labels unless I mouse over them.

You can also adjust the font colors of your fences labels, which leads me into the next set of options you have…
Label Text and Size
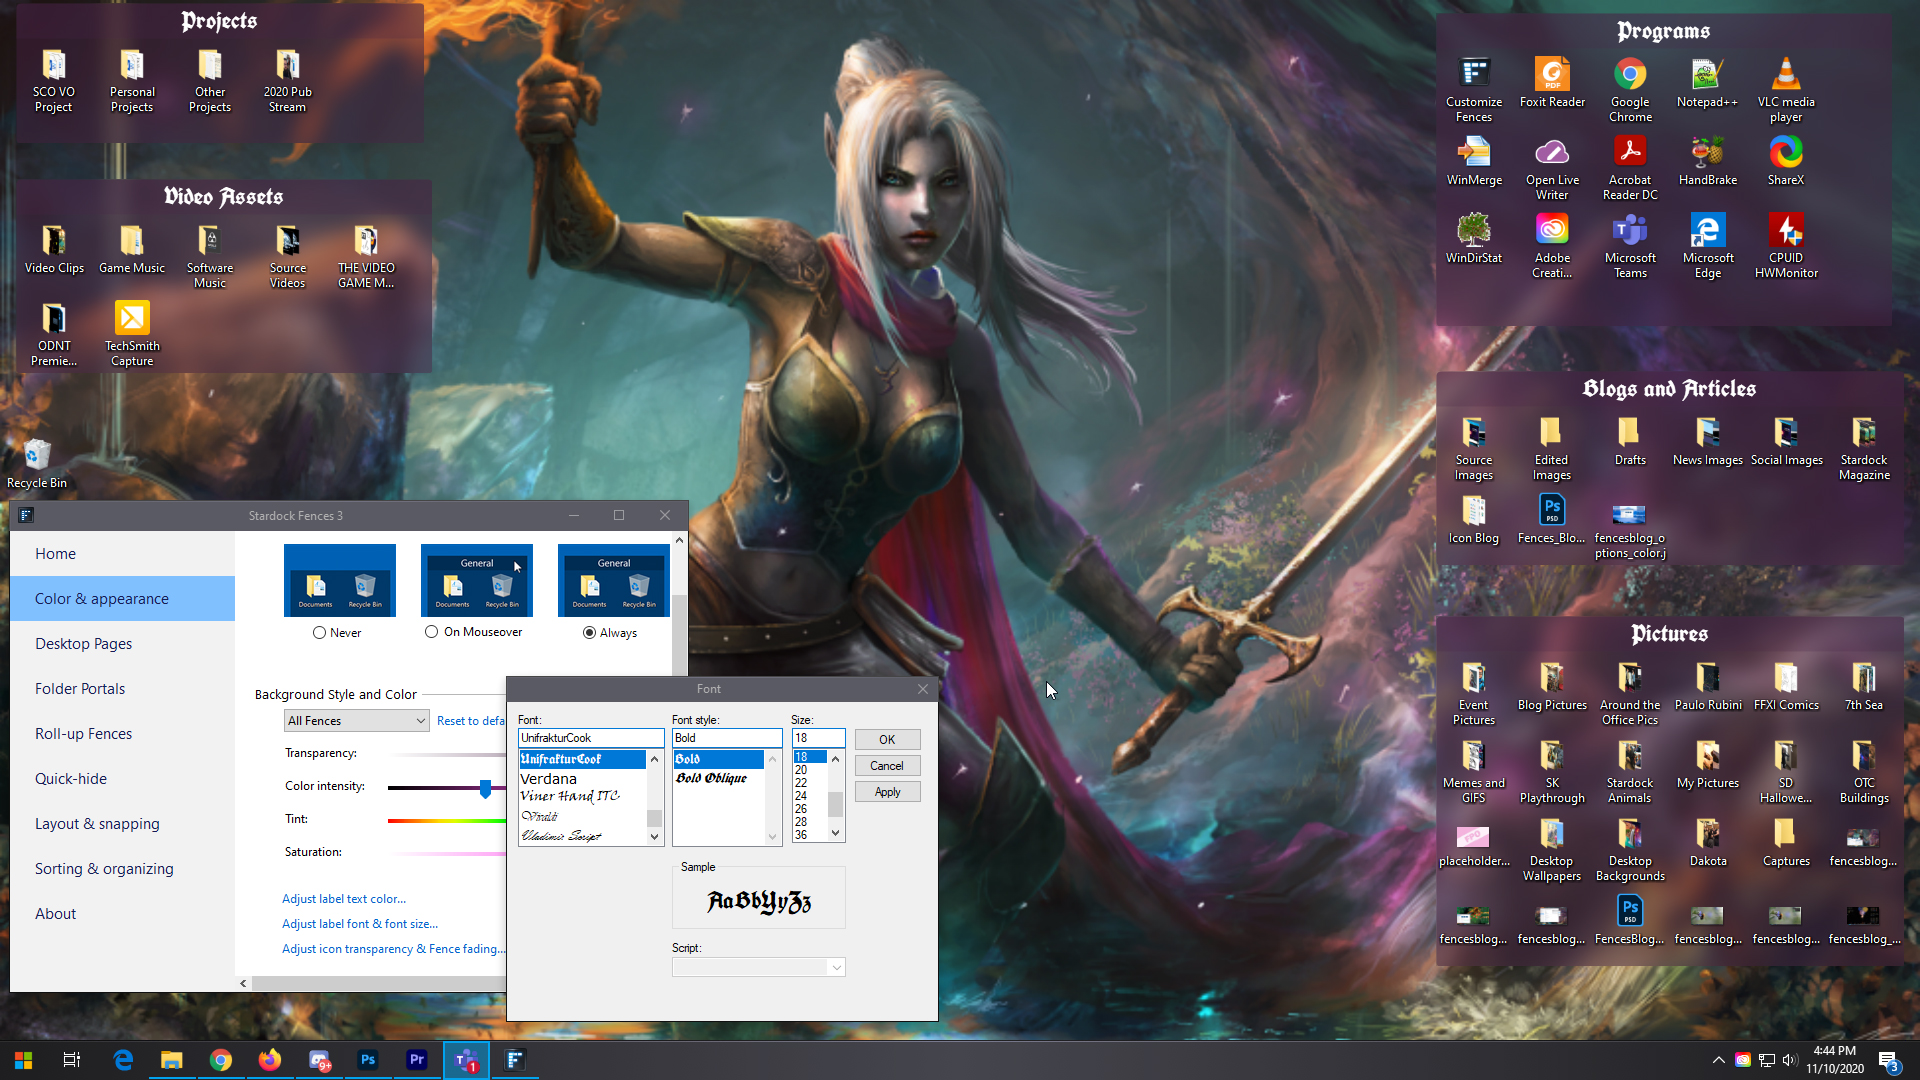
You can customize the labels to your fences in lots of different ways besides just what you name them. The color and size of your fonts can change, as well as the font itself. Many of the options you’d find in any Word processor are available in the Fences option menu. Several of them allow for variations like bolding and italicizing if you feel like it.

I like to adjust my colors and fonts to match whatever I choose for my background. I’m a pretty big Dungeons and Dragons nerd, so I think the medieval script font goes nicely with this image of one of my first ever original characters, Tatiora, that my friend Leo drew for me a couple years ago.
You can also change the font color if you want, though I find that usually keeping it simple with white allows me to read the labels more easily. I also keep my fonts sized somewhere in the middle (in this case, I believe I selected size 16), but you can go bigger or smaller if that suits your needs better.
Speaking of needs, let’s say you prefer a little less noise on your desktop and like to hide away excess things. You can do that!
Visibility
I personally like seeing my Fences and my labels - it makes it easier for me to find what I’m looking for. But, if you’re not into that, there’s ways you can work around it while still keeping your icons and programs grouped together so you can access them quickly.

By taking the transparency all the way down to 0, you can make it so that your fences don’t show up at all, but your icon groupings remain within their fenced areas. You can leave labels on, set them so that they only show when you mouse over them, or even turn the labels off altogether.
Let’s say you don’t like your icons showing, either - you’re all about a clean desktop! You have a couple options for that. You can either double-click on your desktop to hide everything (don’t panic if you do this by accident - not that I would know from experience or anything - another double-click will return them all), or you can change the preferences in your individual fences to make the icons transparent.

As you can see in the image above, I’ve lightened the visibility on some of the fences to make them hard to see. To do this, you go to the title bar of one of your fences, click on the options icon on the left, and go to view > opacity. You can make a fence completely invisible until you mouse over it, if that’s what works for you.
I’d also like to mention the option for rolling up fences. If you want to keep your desktop uncluttered but still see where you’ve put everything, you can double-click on a Fences title bar to hide the rest of the fence so that just the bar is visible.

As you can see, there's a lot you can do to keep your desktop neat and orderly with Fences! There's just one more thing I want to touch on that goes beyond just aesthetic customization, and that's...
Organization and Sorting
In a previous blog, I talked a little bit about Folder Portals and what makes them so helpful, so I’m going to focus on another indispensable aspect of organization: the sorting option.

There are a ton of options here for editing rules on how icon placement and auto-organizing will work. You can choose to make rules for everything from folders to program shortcuts that will determine what fence they sort into when they’re added to your computer.
For example, I have my images set to go directly into my Pictures fence whenever I save an image file to my desktop. It makes it easier for me to find them and then make sure they get into the correct folder that I want. I also do the same for program shortcuts. For general downloads, I actually just make a Folder Portal on my desktop so that I can easily access anything that I download.
You can be really broad with these rules, or get extremely particular. I play pretty loose and wild with my desktop to begin with (in fact, before I set up rules for where images sort to, my desktop was getting really crowded) so I don’t fuss over it too much personally, but you definitely can!
Fences is one of those programs that I don’t think I can ever stop using. It has made my desktop organizing so much easier and it makes my desktop look better overall.
Don’t have Fences yet? No problem, just download it here. Or, if you want to go full throttle with desktop enhancement, customization, and optimization, just get a low-cost membership to Object Desktop and get access to a bunch of our top-rated software all at once.
If you’re already a Fences user, I want to see it in action on your desktops. Share some screenshots with me!