I’m really not much of an artist.
To be frank, saying “not much of an artist” is being a little too kind to myself. I once drew a dog at the request of a 6 year old, who, upon me finishing my drawing, looked up at me and said, “I don’t know what that is, but that’s not a dog.” Kids and their brutal honesty!
While I’m not good at making something out of nothing, if given the right tools I can occasionally create some fun visual things. Fortunately for me - and all of you! - DeskScapes 11 gives me an amazing creator studio right inside the app, filled with tools for creating the perfect background for my Windows desktop. Let’s take a look at how to make an animated background - called a Dream - for DeskScapes together!
Getting Started
You’ll start by clicking “Create Animated Background” on the left-side menu in the app. You’ll have an option to choose an existing template or start with a completely blank slate. At the top, the options for “Package video as dream file,” “Upload Video Background,” and “Upload Static Background,” will allow you to put your finished creations up on WinCustomize - but more about that later. Let’s start creating!
Import a Picture

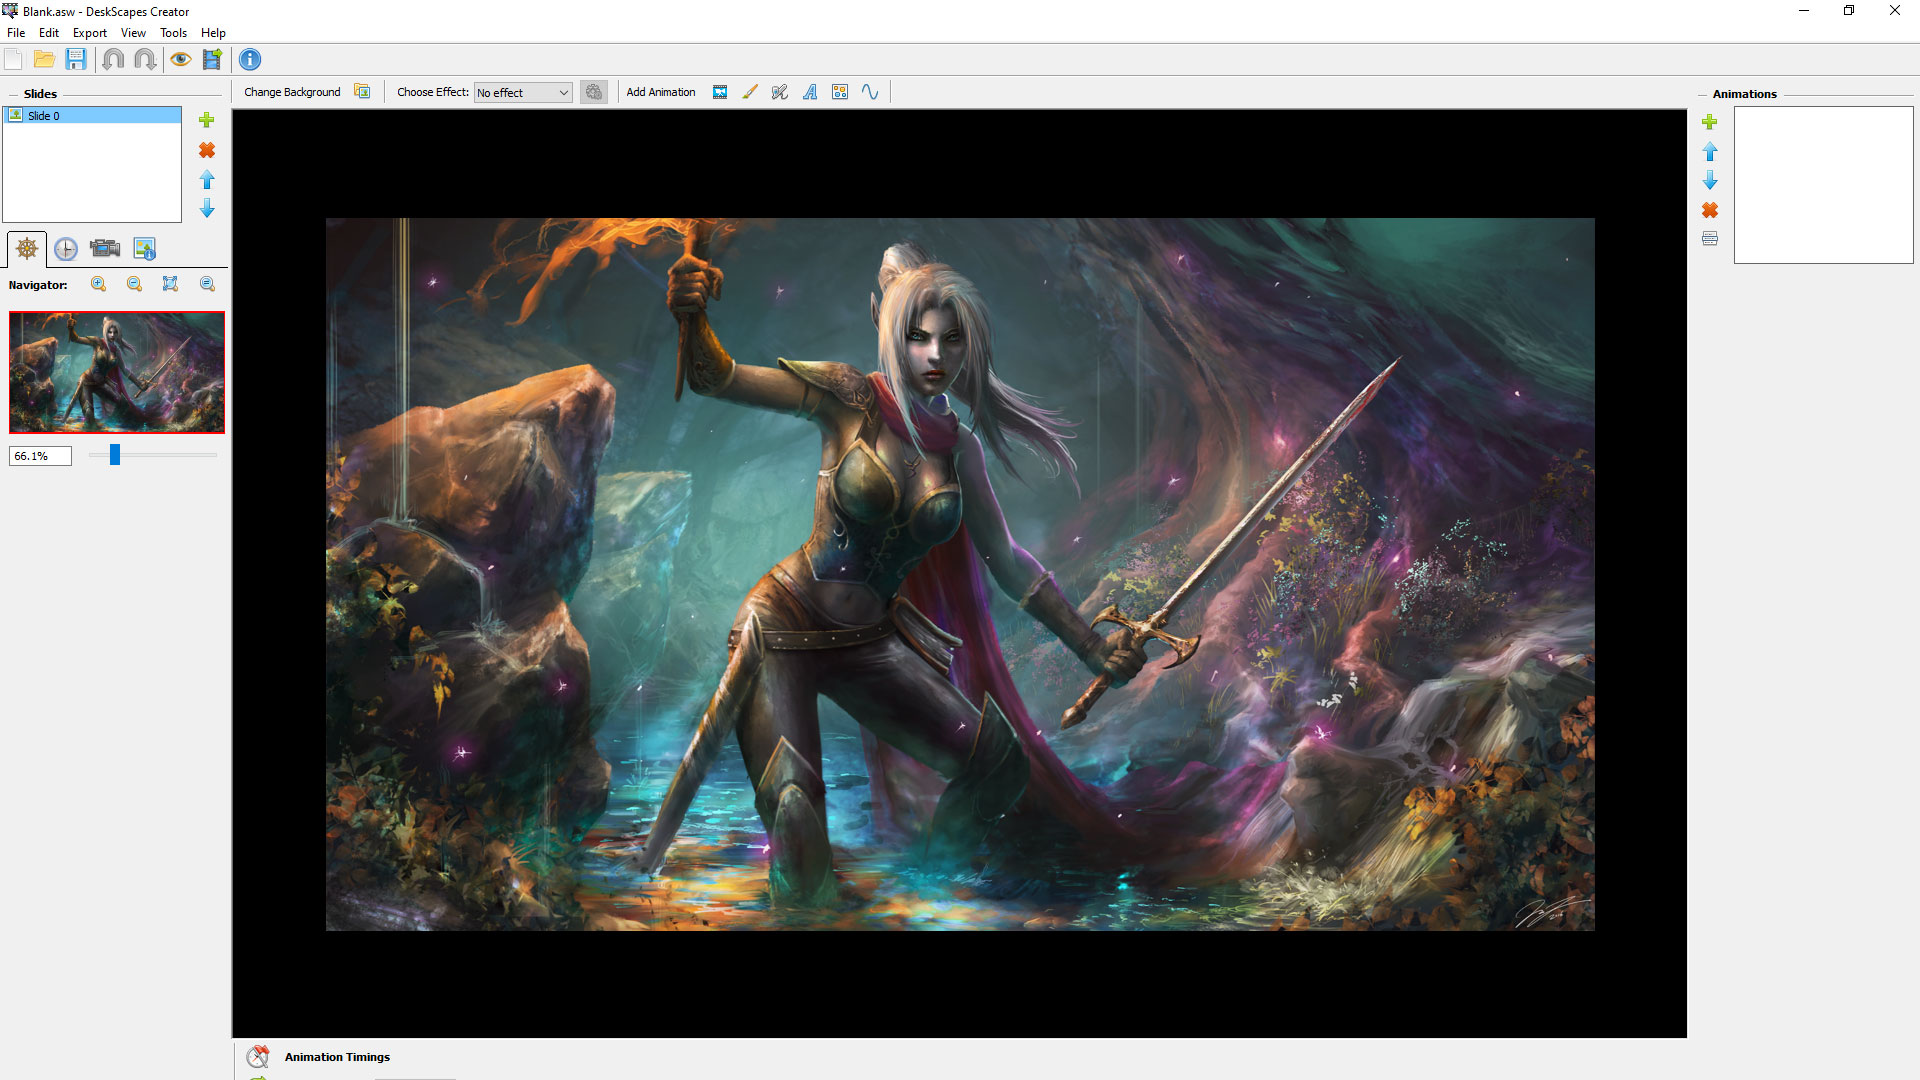
I started with a blank slate for mine because I wanted to animate a beautiful digital painting my friend Leo made for me. To get started, I just needed to double-click on the blank option in the menu, then import the image I wanted to alter.
Now that I had my image selected and ready to go (you can also do this with a short video!), it was time to get started!
Select Your Effects
I had been thinking for a while that it might look cool to add a flickering effect to the purple glows in the picture, so when I opened up the dream creator that was one of the first things I planned on looking for. Once I got my bearings, I found the “add animation” bar at the top, which gives you several options to flip through.

Animated Objects
This section will let you place different kinds of objects on your static or video background. There are tons of options - things like clouds, lightning bolts, fire, light beams, and quite a lot more.
Animated Brushes
These brushes will apply overall effects to your background. You can select something like “Day to Night” and make your image lighten and darken at custom intervals, or choose a drift or flow brush for some other wild effects. The pattern brushes have fun things like stars or hearts and will let you overlay them across your image by painting specific areas.

Airbrushes
These brushes will give you a wide spray of cool effects to apply all over your background. You can control where they go, and even change the size of the spray so that you can be more precise.
Text
There is a selection of fonts here that you can customize with words or phrases of your choice. You can adjust spacing, color, alignment, and more to get it just the way you like it.
Particle Systems
These options have lots of particle effects that you can apply and customize. You can alter the angle and location of where certain effects fall, too.

Lines
You can apply colored and animated lines on your backgrounds with this. You can control how long they are, where they curve and angle, and other aspects of how they look.

Customize, Customize, Customize
Nearly every effect has some level of customization, from speed, to size, to color, and so much more. I found a cool particle effect to surround the character’s sword and changed the color to match all of the purple magic particles in the image (which I also overlaid with some particle animations to make them pop).

I played around with the effects' colors, sizes, shapes, and frequency of flashing. I was able to adjust the transparency of the effect on the sword so that it fades at one end and appears brighter at the other. After a bit of tinkering, I ended up with a result I was pretty happy with.

Obviously it's difficult to see the full effect of the animations from a static image like this, but I really love what came out of all of my experimenting. It's subtle and it flows into the overall picture very nicely. The Dream Maker Pro tool is included in DeskScapes 11 and, as you can see, offers you so much in terms of what you can do with it. If you're not into making your own Dreams, not to worry - there are thousands to choose from at WinCustomize.com, which you can browse through right from within DeskScapes 11.
What does your desktop background look like? Show me some screenshots!